Once again, I find myself watching Stellarium render the frames for the upcoming AstroCrew video and I thought to myself, that I could document this amazing process. So while the engine is rendering at the blistering speed of $10/3$ fps (for most of the scenes, more on that later), let me describe all the stuff I am doing, to make these amazing videos exist.
Disclaimer: This is the way I do stuff. There is almost certainly a better way to do this. If you want to use parts of this in your videos, please atleast mention, where you got all of this stuff. Thanks :)
I’ll also skip the artistic stuff here. The screenplay and voiceover are not my fields of production (and I don’t do them in this production), so I’ll only cover the image part of the video.
For this production, I’ve over time created the Stellarium Panorama Creator. It’s a bit of a misnomer, because of it’s past. I’m currently up to version 3 (it has three rewrites behind it), and in the previous versions, the procedure was described perfectly by it’s name. It used Stellarium to Create a Panorama, that I would later remap in Adobe Premiere Pro using GoProFX Reframe plugin.
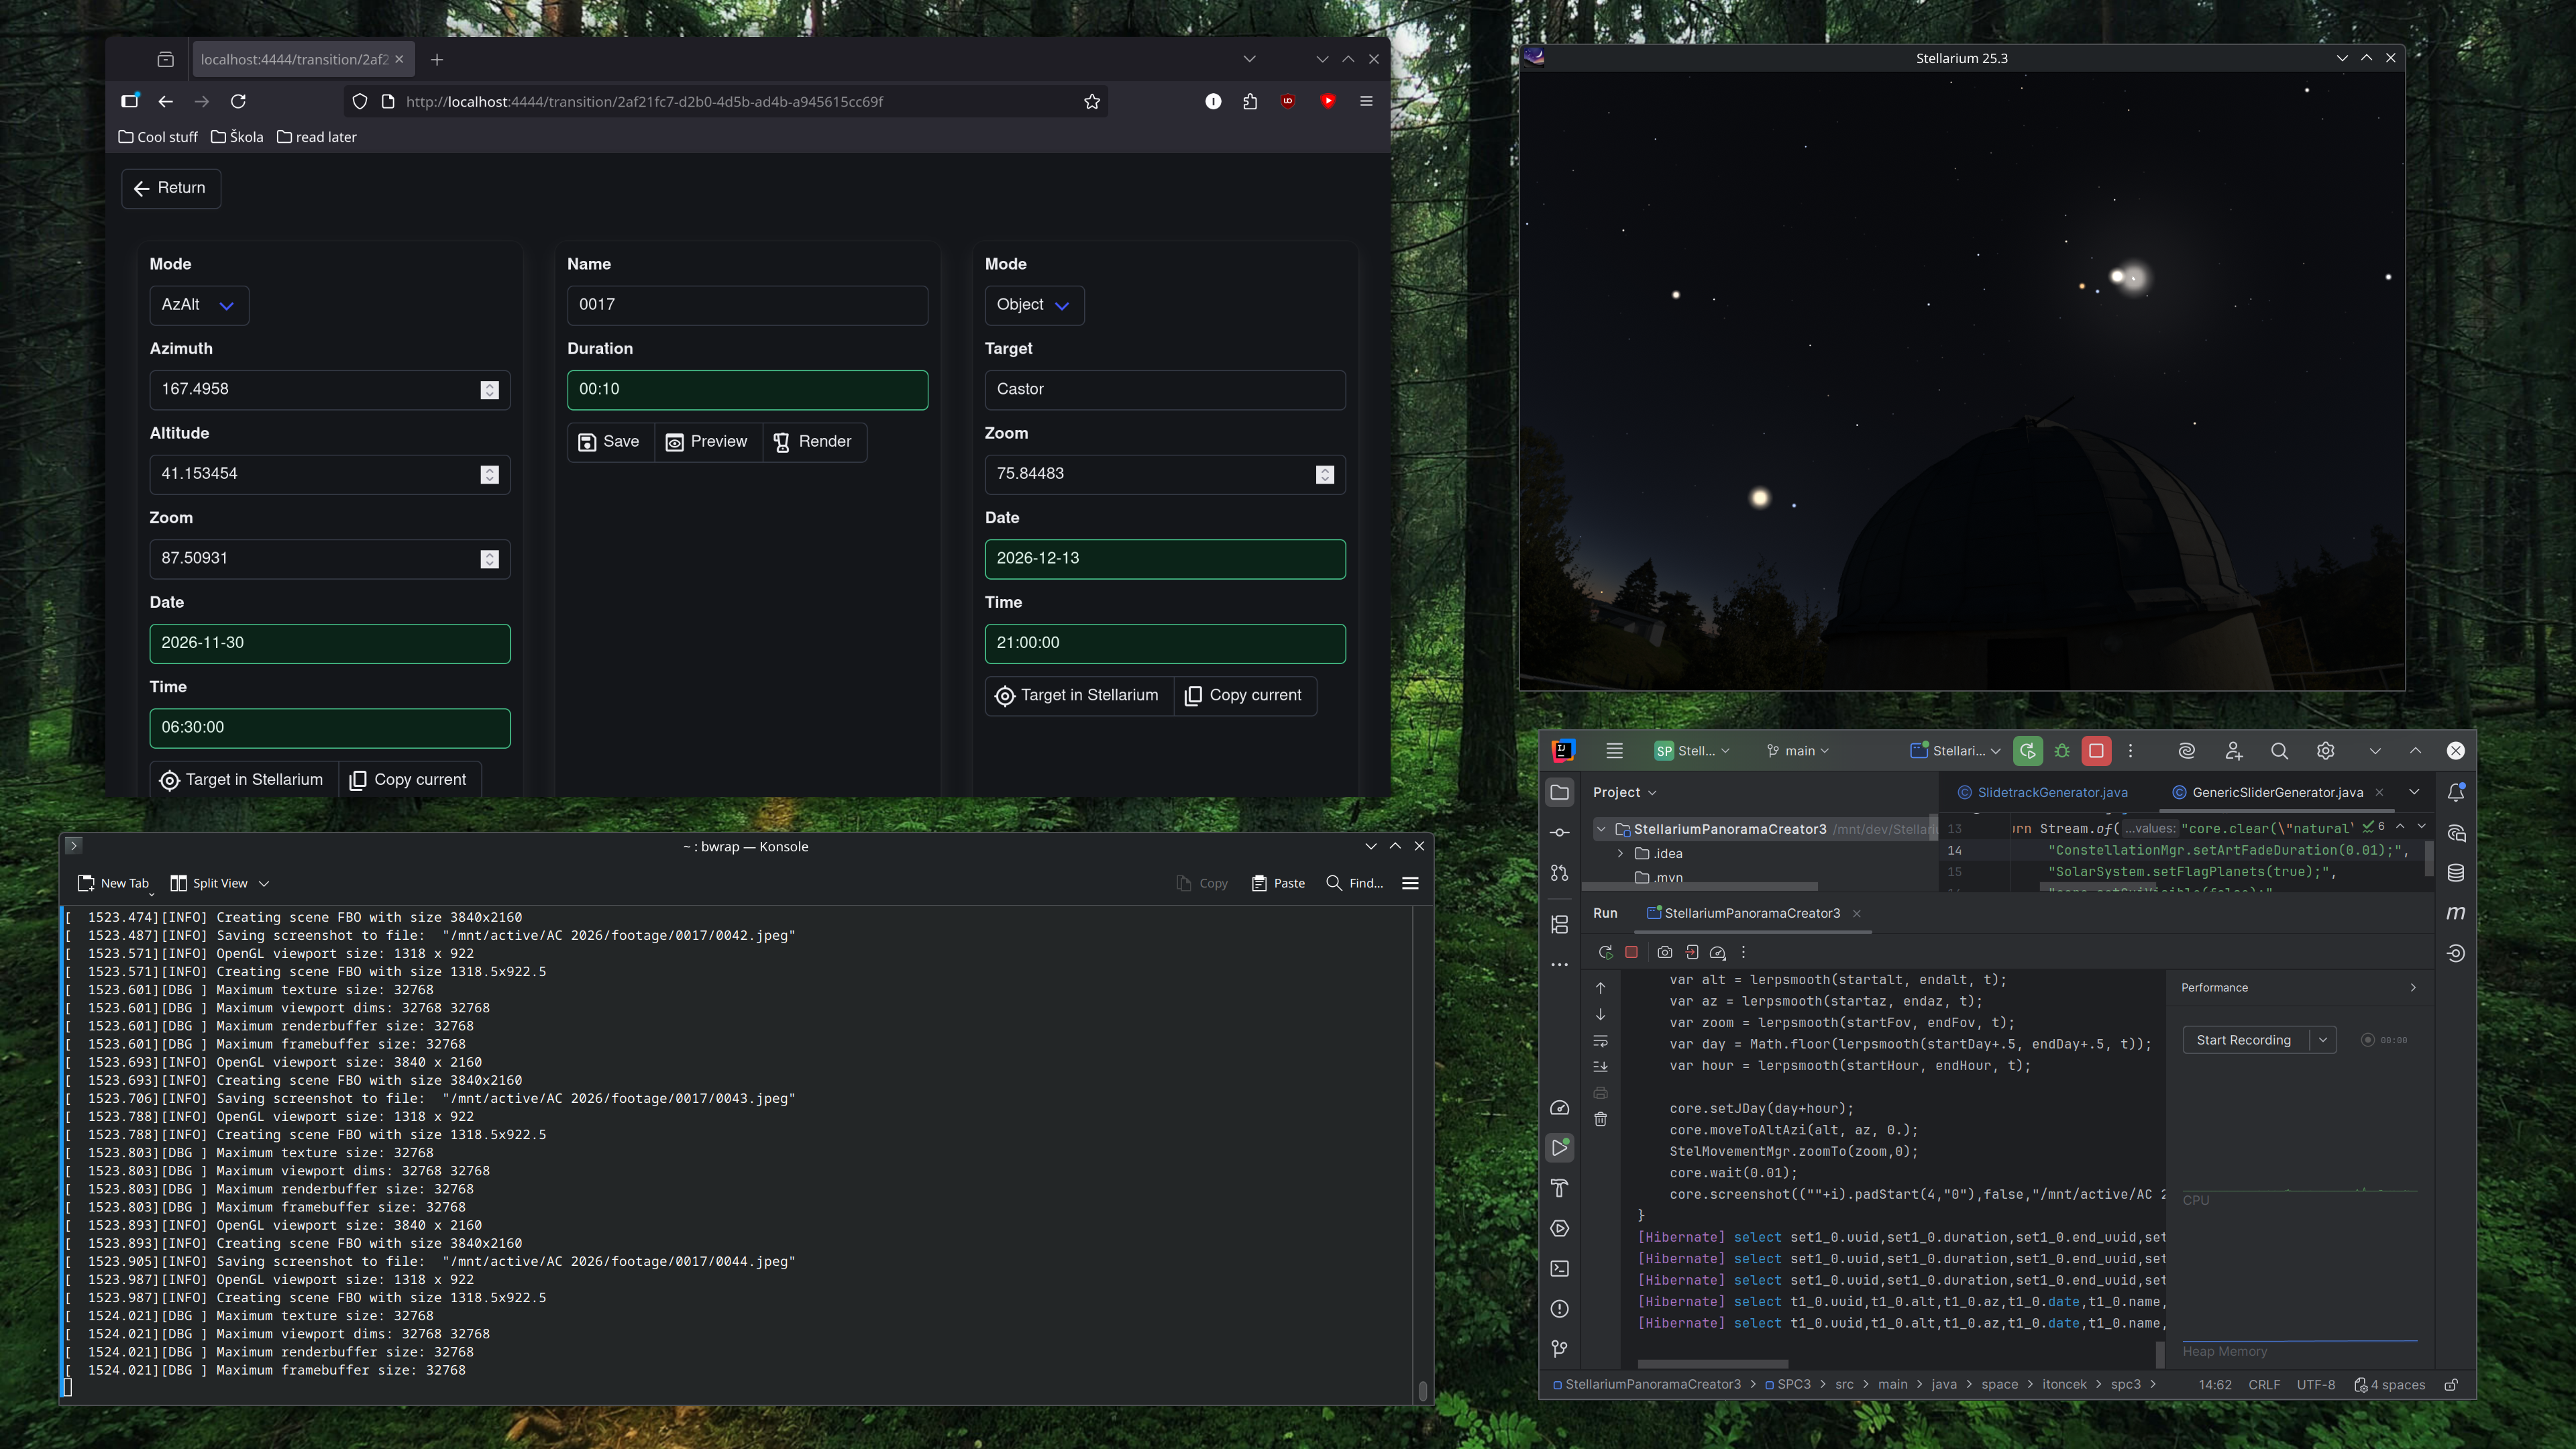
Screengrab from the February monthly sky guide video, that was made with SPC1, Adobe Premiere Pro and GoproFX Reframe plugin
This workflow worked really nicely. The transitions were smooth and also completely independent of Stellarium. When I first came up with this procedure, I was still recording Stellarium using OBS and did all the moves using Web UI. This was understandably limiting and frustrating, when I missed a single entry. But one day, out of nowhere, the GoProFX Reframe plugin, I was using, stopped working.
Since I was too lazy to move back to the OBS + Web UI process, I tried any possible way, to modify this workflow. I tried rendering the panoramas, importing them into Blender and mixing all of it there. It worked, but was slow. While working, I thought about the stupid process I was using. I was capturing the entire dome, then remapping it later in a different software to get back the perspective view. I literally closed blender, sat down and modified the current renderer to move the stellarium camera directly.
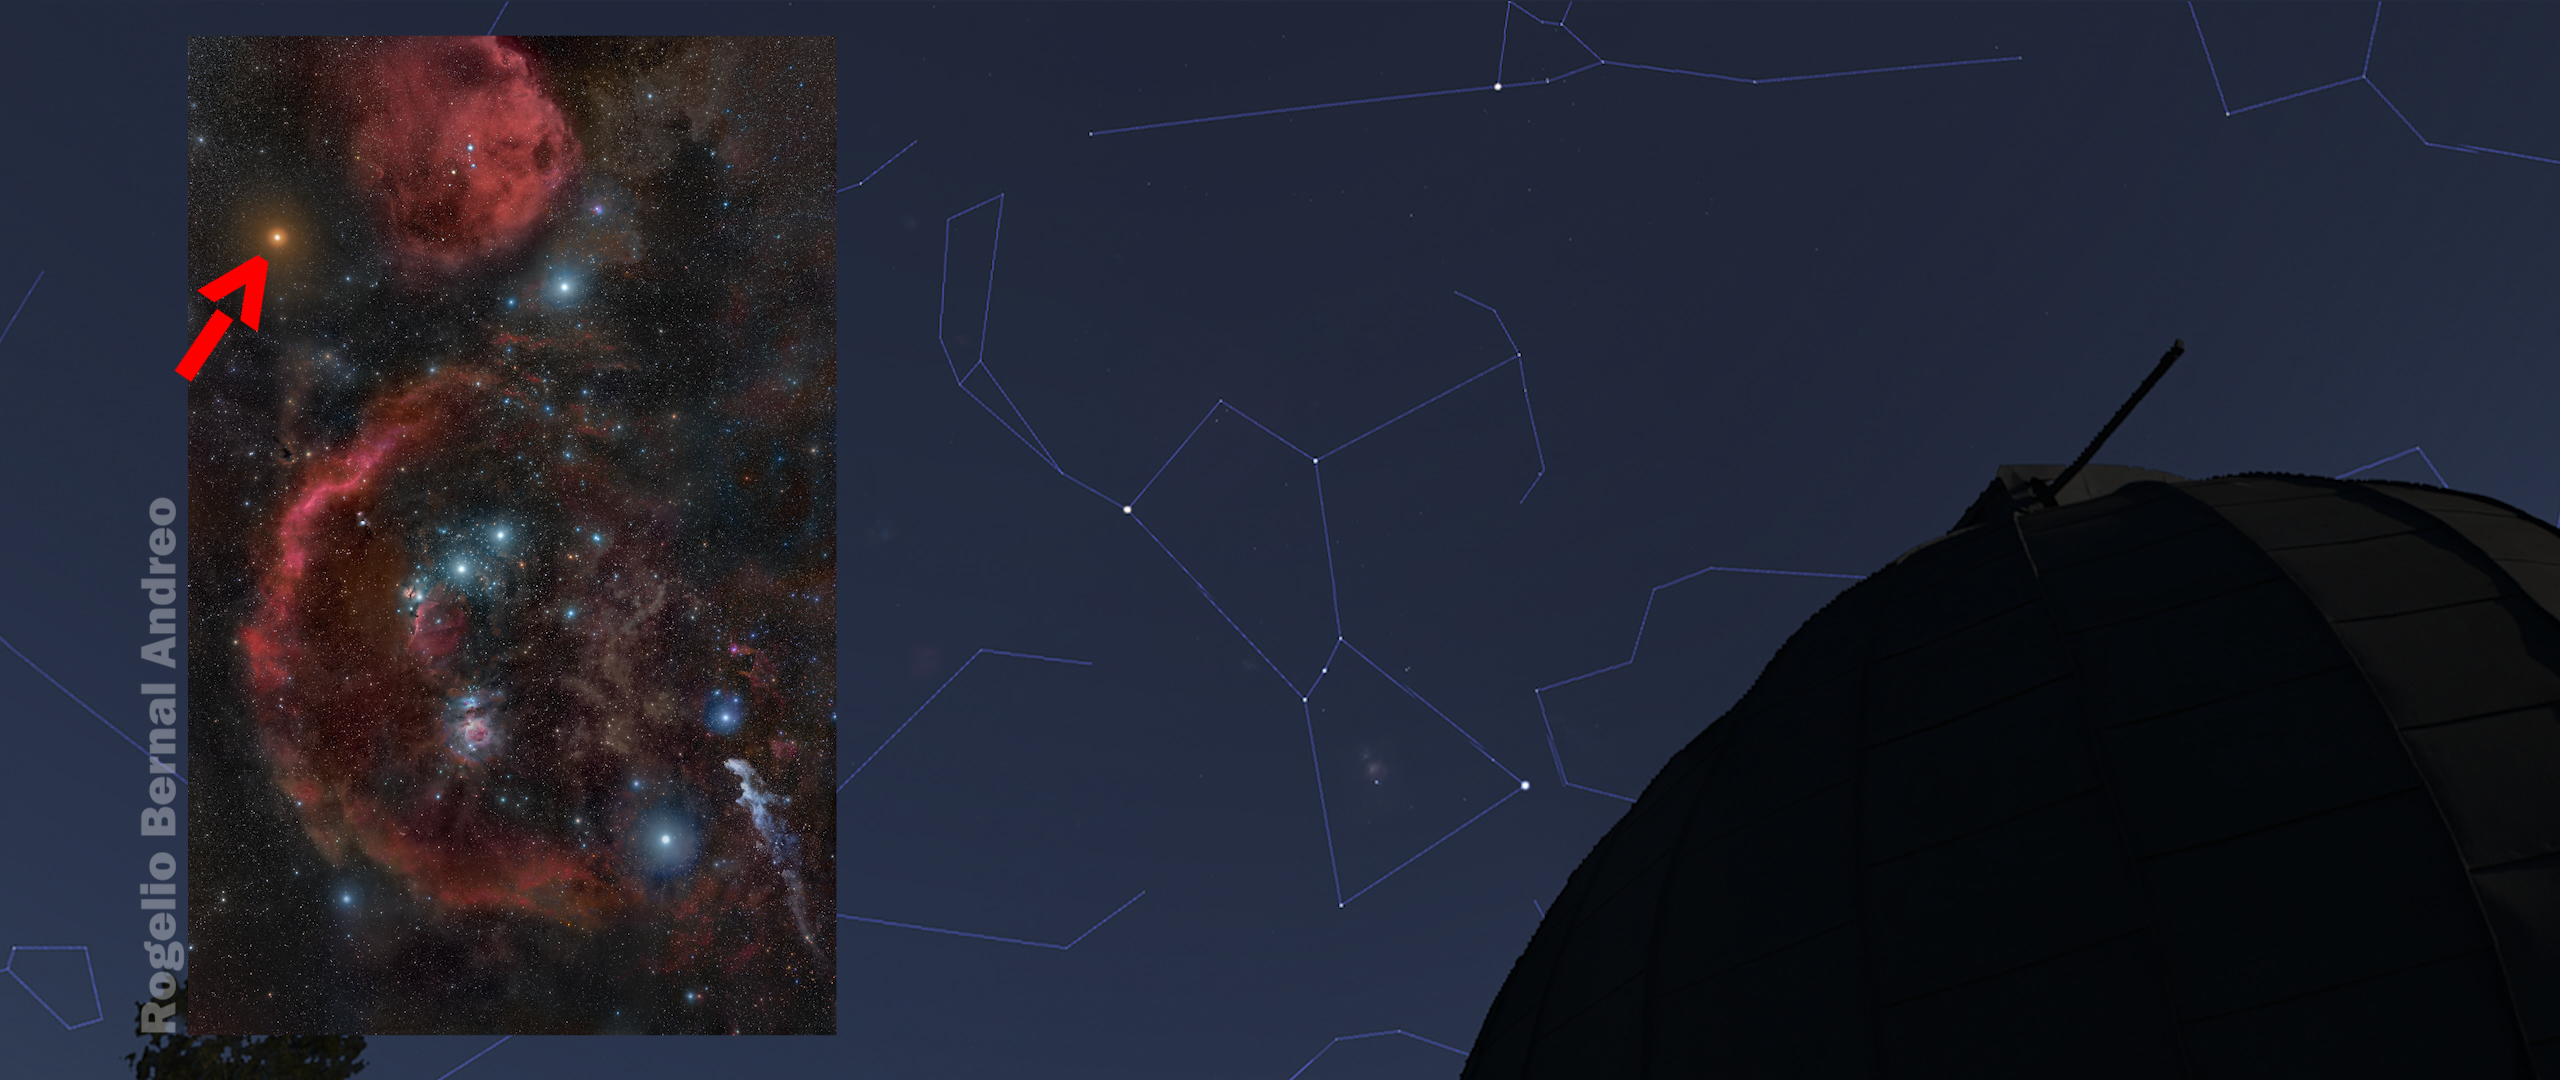
Screengrab from an unreleased video, made with SPC1 and Blender
This gave the rise to SPC2. It was still really manual. I needed to open Stellarium, find my desired view, manually copy over the altitude and azimuth coordinates into method invocations in the source code and then run the application, which would direct Stellarium to render this transition.
This would have been the place this story ended. I struggled to make these videos, because it took literally weeks to just design and render anything YouTube-worthy. But then, I saw the option of making my highschool final thesis on this software, so I would basically have the excuse, that I’m technically doing stuff for school, whenever I wanted to work on the AstroCrew channel.
And all of this has lead to the creation of the SPC3 package.

SPC3 in it’s natural habitat. Please note, that it’s running on Linux 😉
This approximately 10x increased my production speed. Over the time, it took me to write this article, I’ve rendered all the clips for the upcoming 2026 season wrap-up video. As for the shot design, it got significantly easier using the “Copy” function. Now you basically target the stellarium in a direction, you like, click “Copy” and it is automatically extracted from Stellarium and saved into a database. You can also use the positions of stellar objects as start and end points.
As for the future? I’m not sure. With my enrollment in an university, I’m not really sure what will happen tomorrow, let alone next year. Let’s hope, there will be more stuff made with this amazing tool (Did I mention it is open-source?).
This was a quick post I wanted to write, while the scenes were rendering. If you would like to see the videos, which are created using these tools, you can visit our YouTube Channel (Remember to subscribe, so you don’t miss new uploads) and follow us on Instagram.